You will love the magical scent floating through your summer garden. Lavender Seeds hold the promise of future blooms and endless fragrant joy. We can start saving these tiny treasures right now!
It feels amazing to grow new plants from your very own backyard. How to collect lavender seeds is a wonderful skill to learn. You save money and you connect deeply with nature.
Introduction to lavender’s charm and versatility
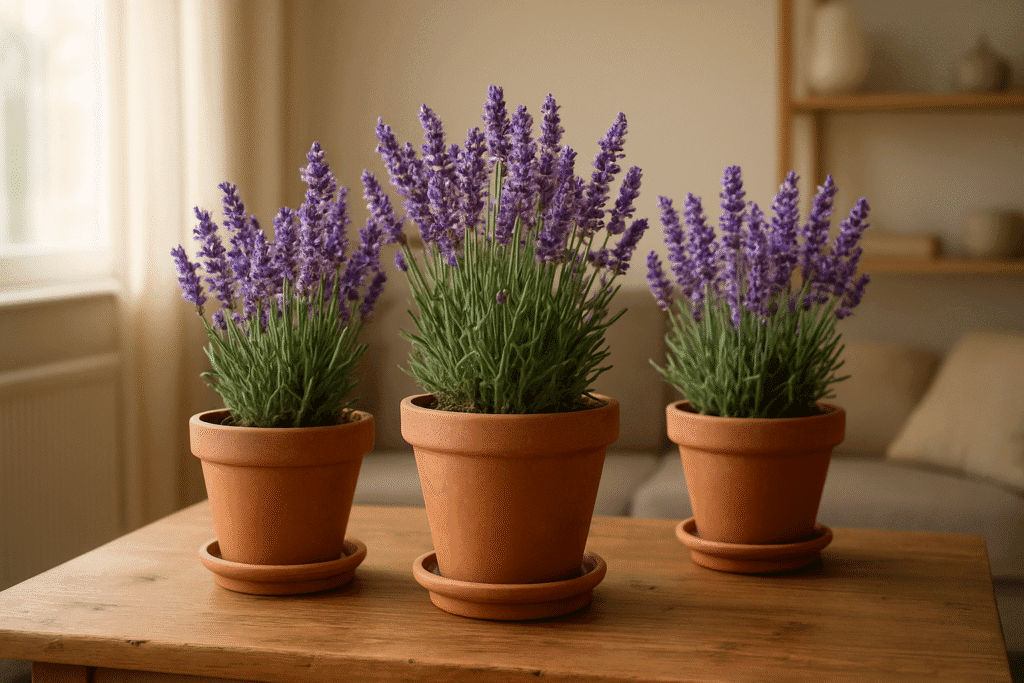
This fragrant herb brings so much joy into our homes. Herb gardening indoors becomes incredibly rewarding when you grow these purple beauties. They smell amazing and they look absolutely stunning on your windowsill.
The intrinsic value of collecting and preserving seeds
Nature provides us with incredible gifts every single season. Collecting plant seeds ensures your favorite flower varieties survive for generations. You become a crucial part of the beautiful lifecycle.
Comprehensive guide to seed harvesting
Our guide reveals every single secret for ultimate gardening success. A proper lavender seed harvesting technique guarantees a bountiful crop next spring. Let us explore these fantastic gardening methods together!
Understanding Lavender Botany and the Pollination Process
Every gardener should understand how these beautiful plants actually grow. The pollination process herbs undergo is truly fascinating to watch. Bees visit the flowers and they help create new lavender Seeds.
It takes time for the flowers to fully mature. Some gorgeous lavender plant varieties produce more seeds than others. You must choose the right types for your garden space.
Brief botanical overview of the Lavandula genus
The Lavandula family contains many different beautiful species. Some hybrids are completely sterile so they cannot produce viable lavender Seeds. You should always check your specific plant type first.
Explanation of the pollination process
Insects play a huge role in your lovely garden ecosystem. You will see bees buzzing around the fragrant blooms constantly. This natural ecological biodiversity gardening helps your plants thrive beautifully.
Identifying different plant varieties suitable for seed saving
English varieties usually produce the best viable seeds for replanting. You might wonder about the difference between lavender and lavandin seeds. Lavandin is a hybrid and it produces mostly sterile seeds.
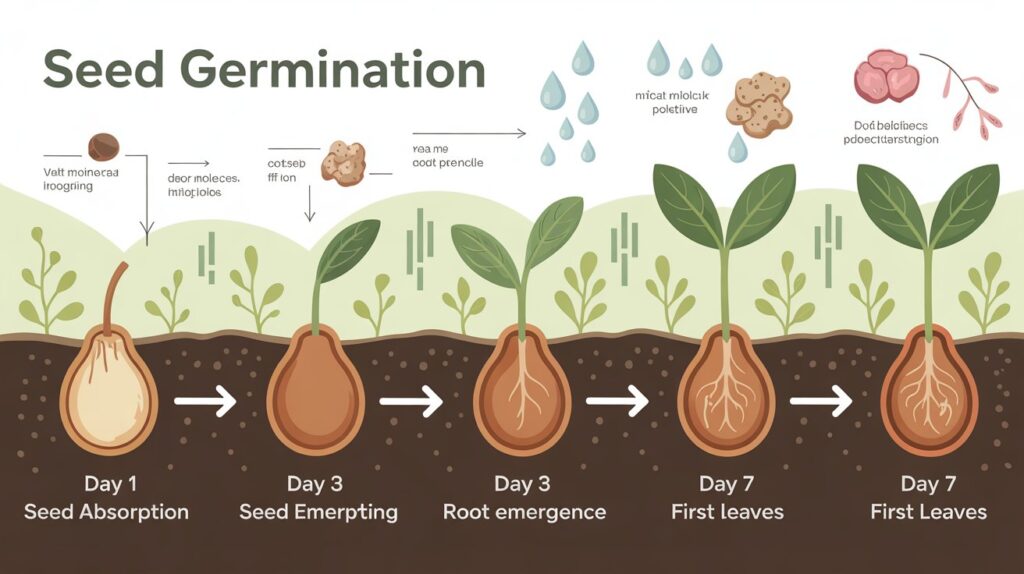
Optimal Timing: When to Collect Lavender Seeds
Timing matters immensely when you want to harvest successfully. You must wait until the pretty purple flowers dry out completely. Drying lavender flowers on the plant yields the best results.
Patience is your best friend during this gardening adventure. Learning how to save lavender seeds at home requires careful observation. The tiny pods will turn brown when they are ready.
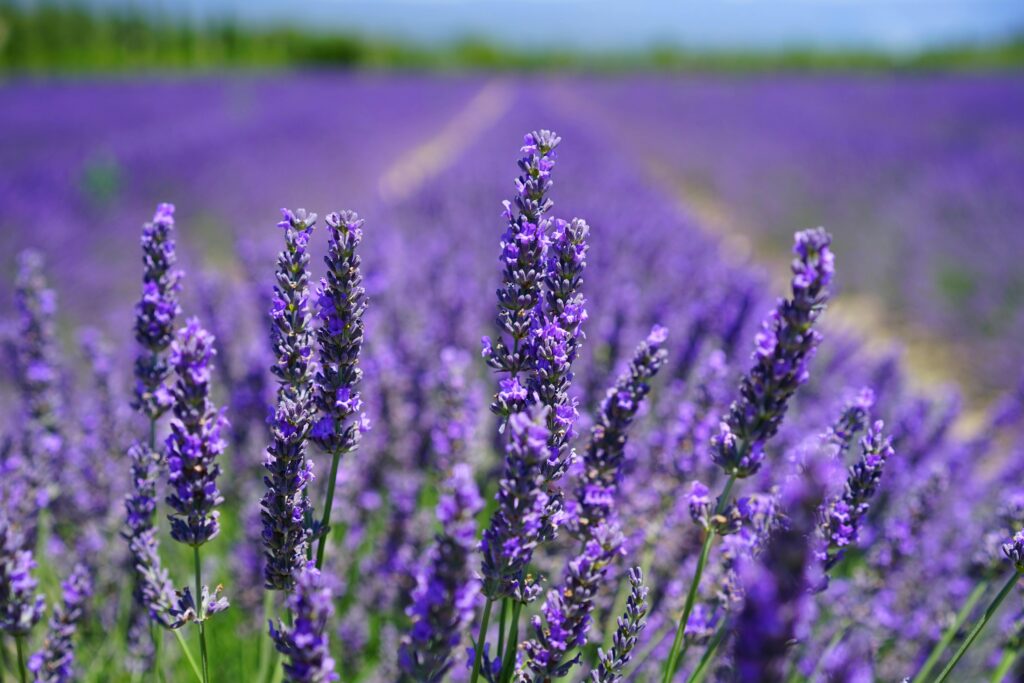
Recognizing the signs of mature seed heads
Look closely at the faded blooms on your plants. The step-by-step lavender seed harvesting process starts with brown flower heads. They should look completely dry and slightly crispy to the touch.
The critical window for successful harvesting
Wait for a warm sunny afternoon to gather your harvest. The best way to dry lavender for seed saving involves avoiding moisture. Morning dew can easily ruin your precious little lavender Seeds.
Factors influencing seed development and ripeness
Weather changes can affect how fast your plants mature. Organic gardening methods ensure your plants stay healthy all season long. Proper sunlight helps the little pods ripen perfectly on time.
Step-by-Step Guide to Harvesting Lavender Seeds
You need a few simple tools to start this project. Seed saving techniques do not require expensive equipment at all. Grab some clean garden snips and a paper bag.
It feels so satisfying to gather your own garden bounty. A good beginner guide to seed saving herbs emphasizes gentleness. You must handle the delicate flower stalks with extreme care.
Essential tools and preparation for collecting
Gather a large bowl and some sharp pruning shears. Clean tools promote fantastic indoor herb gardening success and prevent diseases. You are now fully ready to begin your fun harvest!
How to correctly clip the flower stalks
Cut the stems just below the faded flower heads carefully. Harvesting flower seeds requires precision so you do not damage the plant. Leave some green foliage to keep the bush happy.
Separating the seeds from the chaff
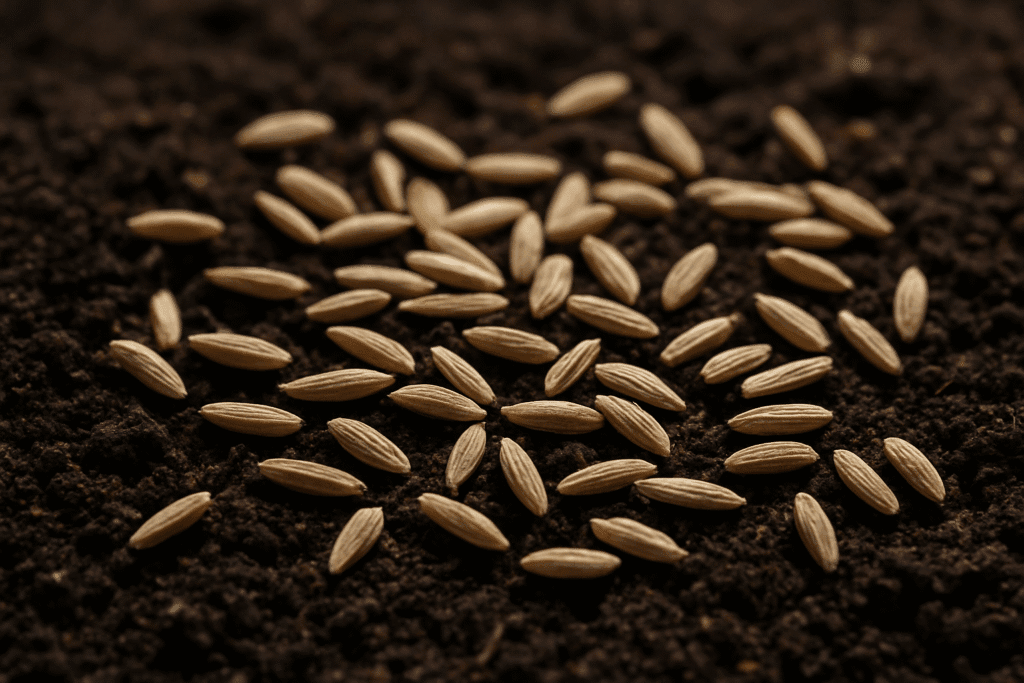
Rub the dried flower heads gently between your fingers. You will see the tiny black lavender Seeds fall out easily. This easy seed saving methods for beginners works perfectly every time.
Advanced Tips for Seed Preservation and Storage
Proper storage keeps your harvest safe until planting time arrives. Good seed storage methods protect your hard work from ruining. Moisture is the biggest enemy of your fresh garden harvest.
You want your collection to last as long as possible. The seed viability and shelf life depend entirely on your storage habits. Keep everything cool and dry for the best future results.
How to store seeds for future planting
Place your clean harvest into small glass jars immediately. Heirloom seed preservation requires airtight containers to block out harmful humidity. Label your jars clearly and store them in a dark cabinet.
How long do lavender seeds last
Properly stored batches can remain viable for several years. You might wonder can all lavender plants produce seeds reliably over time. Only open-pollinated varieties will give you consistent germination rates later.
Sustainable gardening practices for the future
Saving your own crops helps protect our precious environment immensely. These sustainable gardening practices reduce waste and they save you money. The benefits of saving your own seeds are truly endless!
Troubleshooting Common Seed Saving Issues
Sometimes plants refuse to cooperate with our gardening plans. You might ask why my herbs are not going to seed this year. Too much fertilizer can stop the beautiful flowering process completely.
We can fix most common garden problems very easily. Figuring out how to encourage plants to flower and seed takes practice. Stop adding extra nitrogen and let the plants grow naturally.
Dealing with sterile hybrids
Many popular garden center plants will never reproduce naturally. The difference between lavender and lavandin seeds often confuses many new gardeners. Always buy true species plants for your future saving projects.
Basil and cilantro flowering comparisons
Other garden favorites behave quite differently during the summer months. You might notice basil and cilantro flowering much faster in the hot sun. Knowing when to harvest cilantro seeds (coriander) requires watching for brown pods.
How to collect seeds from flowers efficiently
Working over a large white sheet of paper helps immensely. Learning how to collect seeds from flowers becomes easier when you can see them. You will never lose those tiny black lavender Seeds again!
FAQ’s
1. How to get the seeds from lavender?
Dry the flower heads, then gently rub or shake them to release the tiny seeds from inside.
2. What is the 8-8-8 rule for lavender?
It refers to spacing lavender plants about 8 inches apart, watering every 8 days, and ensuring 8 hours of sunlight daily.
3. Are lavender seeds difficult to germinate?
Yes, they can be slow and tricky, often needing patience and sometimes cold stratification to sprout.
4. Can I just scatter lavender seeds?
You can, but germination is low unless they’re lightly pressed into soil and kept moist.
5. Do lavender seeds come back every year?
Lavender is a perennial, so plants return yearly, but seeds don’t reliably self-sow.
6. What does the Bible say about lavender?
Lavender isn’t directly mentioned in the Bible, though similar aromatic herbs are referenced.
7. What does lavender mean in LGBT?
Lavender symbolizes LGBTQ+ identity, pride, and resistance, historically linked to queer culture.
8. What is the superstition about lavender?
Lavender is believed to bring peace, protection, and love, and ward off negative energy.
9. Did Jesus use lavender?
There’s no direct evidence Jesus used lavender, though fragrant oils were common in that era.