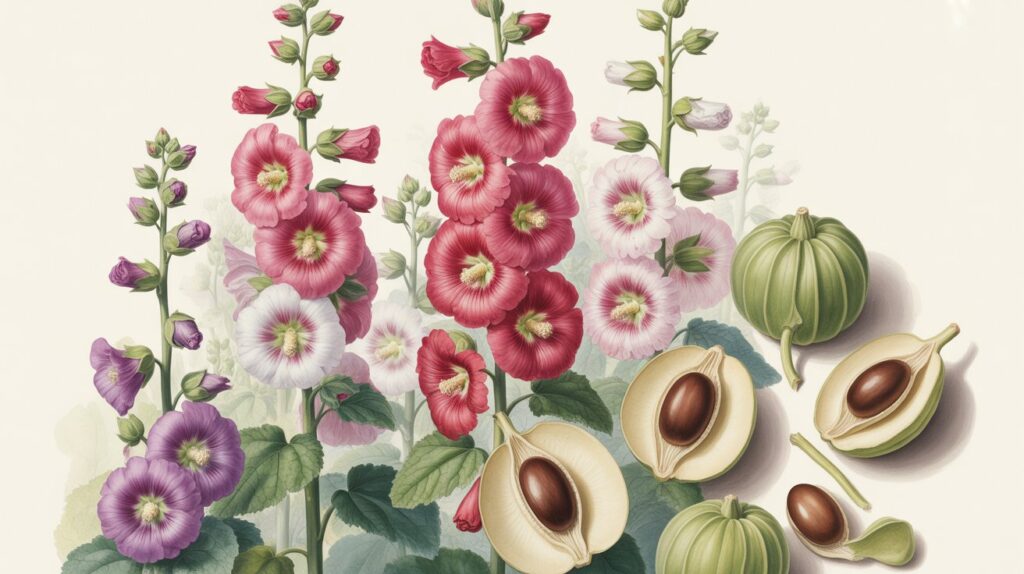
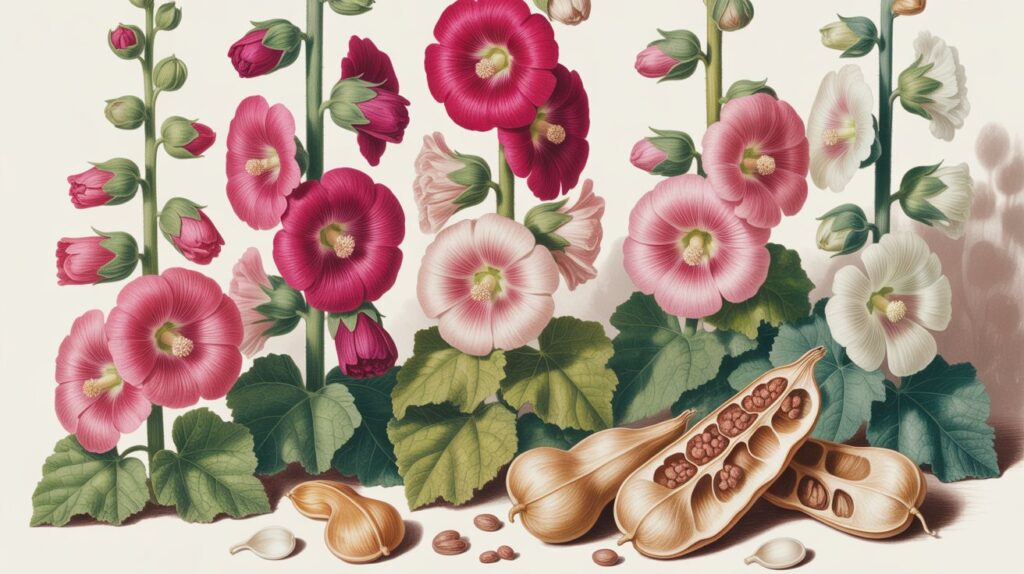
The hollyhock is the ultimate cottage garden plant. Their broad, stately spires of vibrant bloom make them essential as vertical accents in any garden bed. They are not only beautiful, but also popular with pollinators like butterflies and bees. And best of all, growing hollyhocks from seed is easy and rewarding, even for beginning gardeners.
In this article, we’ll share how to grow hollyhocks from seed. We’ll go over when to plant hollyhock seeds, a step-by-step guide on how to plant them, and care tips as your plants grow. This means you will be sure to have these magnificent plants blooming in your own garden.
Understanding Hollyhock Seeds
First, let’s get to know the seeds before you start planting. Hollyhocks are generally biennials, which take two years to complete their life cycle. During the first year, the plant concentrates on developing a strong system of roots and foliage–typically a downy rosette of leaves close to ground level. In the second year, it will shoot up those tall flower stalks that make hollyhocks so unmistakable.
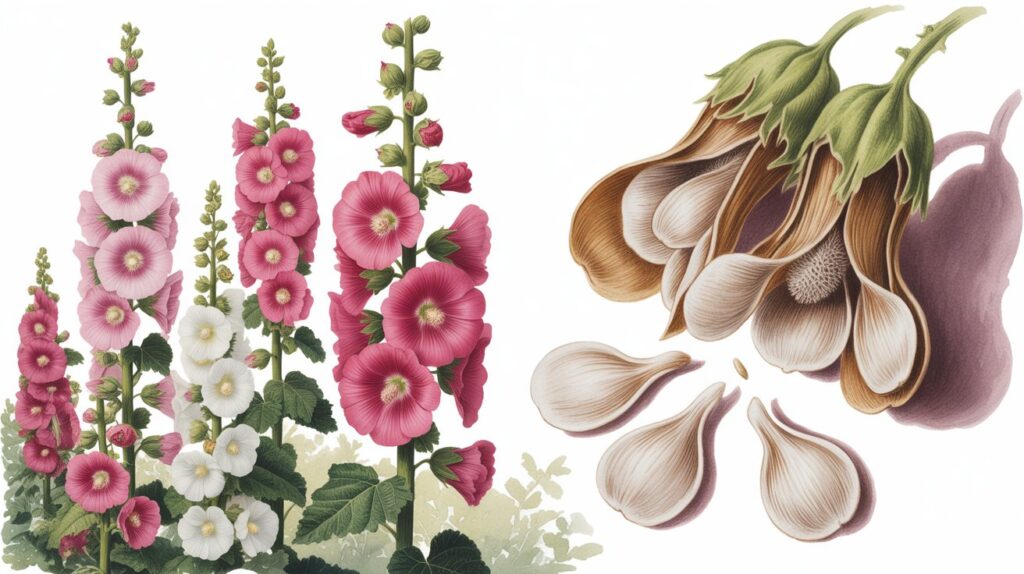
What does a hollyhock seed look like? A hollyhock seed is so small, flat, and disc-shaped that it could easily be mistaken for a miniature button with ridged edges. They are dark brown or black in color and occur in a disc-like pod, or “wheel,” after the flowers die off. Hollyhock seeds can be collected from a plant at the end of its growing season or bought from a nursery.
When to Plant Hollyhock Seeds
Timing is important when it comes to planting hollyhocks. The timing of the best time to plant is based on your climate and when you want to see everything come up in bloom. You have two main options:
Planting in Spring
If sown in spring after the last frost, hollyhocks will use their first year to grow foliage. Then they will flower the summer after. It’s probably the most popular way to grow hollyhocks from seeds.
Plant in late Summer or Fall
For blooms the following year, you could experiment with sowing hollyhock seed in late summer or early fall — at least six to eight weeks before your area’s first anticipated frost. This allows time for the seedlings to establish a good, healthy root system before winter. In the spring, the plants will push up to bring forth their lovely flower spikes. This is, in effect, fooling the plant into thinking it’s biennial and causing it to go to seed within a year.
Hollyhock Seeds Planting: Step-by-Step Guide
There is really nothing to growing hollyhocks from seed. Whether you began them indoors or sow outdoors directly in the garden, take these steps and increase your odds of successful sprouting.
Step 1: Prepare Your Seeds (If You Want)
It’s not absolutely mandatory, but if you soak your hollyhock seeds in warm water for a night first, they should germinate just that little more quickly. This helps loosen the hard skin of the seed.
Step 2: Select Your Planting Spot
Hollyhocks prefer a full-sun location — at least six hours a day of direct sunlight. They also need well-draining soil. If you have particularly heavy clay soil in your garden, incorporate compost or other organic matter into it to make areas drain better. Hollyhocks have long taproots, so make sure the soil is loose and deep. Since they grow so tall, it’s also a good idea to plant them in a spot protected from strong winds, such as against a fence or wall.
Step 3: Sowing Hollyhock Seeds
For sowing directly into the garden:
Weed the site, and turn the soil to about 8-10 inches.
Sow seed 1/4 inch deep, spaced 2-3 inches apart.
When seedlings have one or two sets of true leaves, thin them to about 18-24 inches apart. Five to six feet apart should suffice, allowing the plants room to grow, and encouraging good air circulation that will inhibit disease.
For starting seeds indoors:
- Fill biodegradable pots or seed trays with a good-quality seed-starting mixture.
- Sow 2 to 3 seeds per pot, 1/4 inch deep.
- Water lightly, and put the pots in a warm, sunny window. Soil should be kept evenly moist; avoid sogginess.
- Hollyhock seeds will germinate in one to two weeks.
Step 4: Transplanting Seedlings
If you began your seeds indoors, you will want to transplant them into the garden when they are well-formed and have a few sets of leaves. First, harden them off by moving them outdoors in stages over a week. This helps prevent transplant shock. Set them at the same depth they were planted in their pots, spacing them 18 to 24 inches apart.
Caring for Your Hollyhocks
After your Hollyhocks grown from seed are established, they need little attention.
Watering: Hollyhocks need to be watered frequently, especially in dry weather. Water every week with deep soaking as opposed to frequent, shallow watering. This promotes the deeper growth of a long taproot, which helps to protect your plant from drought.
Sunlight: Full sun is required for sturdy stems as well as generous flowers.
Soil: These flowers like a slightly alkaline soil; however, they will grow in most types of soil as long as it is free-draining. Mulching can help to maintain moisture levels and stifle weeds.
Staking: Since hollyhocks can reach 8 feet in height, their flower-laden stalks become top-heavy. Stake them or plant them near a fence so they won’t be damaged in a windstorm.
Dealing with Common Problems
Hollyhocks are typically tough but subject to a few problems.
Hollyhock Rust: This is the biggest problem. It looks like orange or yellow pustules on the lower part of the leaves. To control it, provide good air circulation, water at the base of the plant to avoid getting the foliage wet, and remove affected leaves promptly.
Problems: Japanese beetles and spider mites can occasionally be an issue. They are usually controllable by hand-picking or spraying with insecticidal soap.
Enjoying Your Blooms
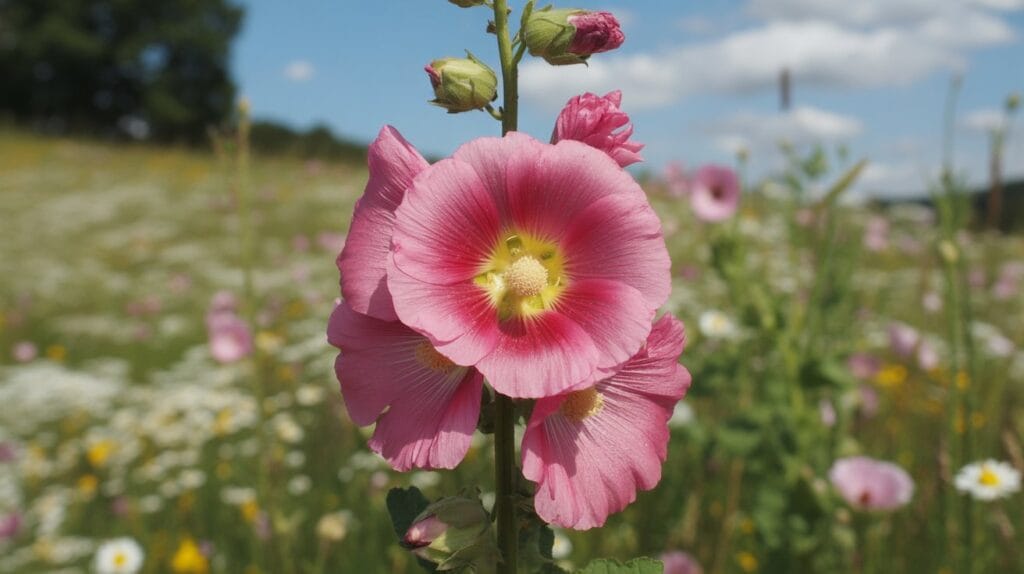
After waiting patiently, you’ll be rewarded with glorious towers of flowers. They are also beautiful as a cut flower for arrangements inside. To keep them fresh in your vase, cut the stems when filled with water overnight.
Taller perennials and annuals look wonderful in the garden because of their height. They add a timeless, romantic touch to your backdrop, and they’re fantastic for luring pollinators.
Your Garden’s Vertical Accent
Planting hollyhocks from seed is an easy and rewarding gardening project. With some thought and simple treatment, you can grow these gigantic beauties and have their big show year after year. From prepping soil to seeing the first flowers unfurl, it connects you with timeless garden rhythms.
Frequently Asked Questions
When to plant hollyhock seeds?
Hollyhock seeds can be planted in the spring with blooms appearing the following year, or sown in late summer/early fall for bloom the next season. The most usual mode of planting is in the spring.
How do you plant a hollyhock seed?
Sow hollyhock seeds 1/4 inch deep in moist, well-draining soil to germinate. Store in a warm, sunny place. You can speed germination by soaking seeds in water overnight before sowing; most will sprout in 1-2 weeks.
Are hollyhocks perennials?
Hollyhocks are biennials; they have a two-year life cycle. They put out foliage in their first year, and flowers drop in the second. But, they self-seed with abandon, so there are always new plants waiting to burst forth in your garden. Not to mention how last year’s seedlings emerge everywhere and bloom like perennials.
How to Harvest Hollyhock Seeds From a Plant?
After the flowers die off, seed pods will appear on the stalk. Now wait for these pods to age and turn brown. You can then easily crack them open to retrieve the flat, disc-shaped hollyhock seeds.