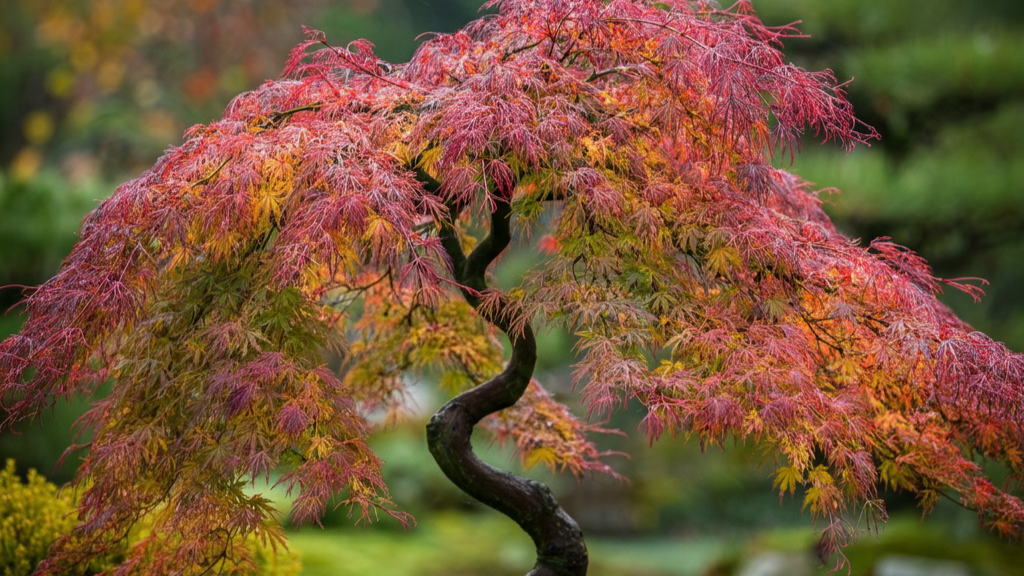
Planting a maple tree from a seed is an enjoyable project that rewards you with free trees and also adds beauty to your landscape. It’s an opportunity to grow a landmark that can last for generations, providing shade, spectacular fall color, and a haven for local wildlife. It’s a test of patience indeed, but growing even the smallest seed – or “samara” – into a monumental tree is an experience unique to the gardener.
This guide is a step-by-step overview of growing maples from seed. We will discuss how to distinguish among maple varieties, the best methods for collecting seeds, and step-by-step germination and transplanting. Whether you are a home gardener getting ready to plant a native tree in your yard or an educator in search of the perfect class project, we have everything you need to grow your own maple tree.
Identifying Your Maple Seeds: Hard vs. Soft Maples
Before you can start planting, the first and most crucial step is to identify what kind of maple tree you have. Native maples are generally categorized as either “hard” or “soft,” and this distinction determines when you collect the seeds and how you prepare them for planting.
Soft Maples
Soft maples, such as the Silver Maple (Acer saccharinum) and Red Maple (Acer rubrum), produce their seeds in the spring and early summer. These trees are often among the first to flower, sometimes creating a reddish haze in the canopy before their leaves even emerge.
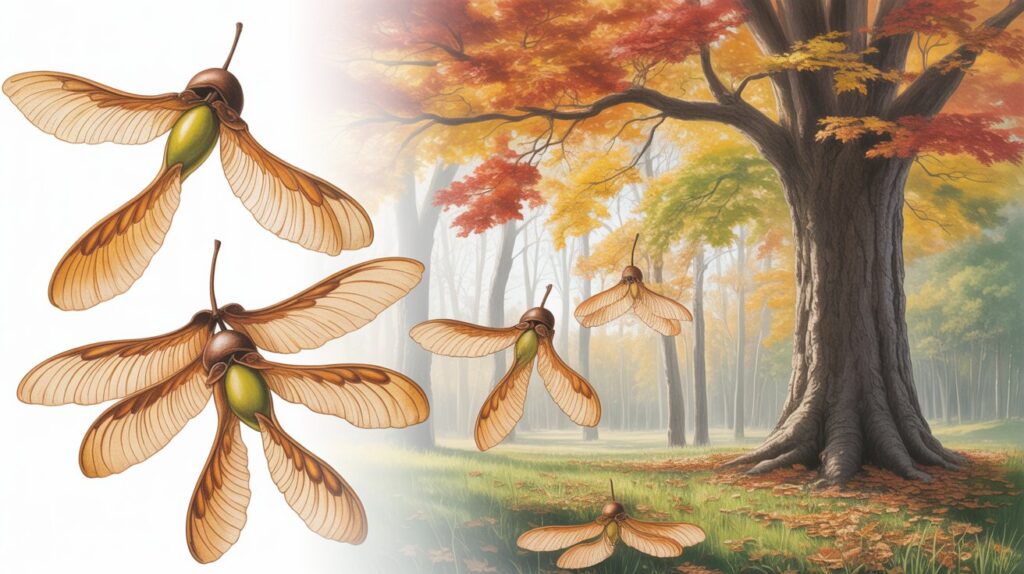
- Seed Appearance: Soft maple seeds mature quickly, turning from green to a dry, straw-like color. Silver maple seeds are noticeably larger than those of the red maple.
- Collection Time: Late spring to early summer, shortly after they fall from the tree.
- Planting: These seeds are ready to plant immediately. They do not require a cold period to germinate.
Hard Maples
Hard maples, most famously the Sugar Maple (Acer saccharum) and Black Maple (Acer nigrum), produce their seeds in the fall. Sugar maples typically don’t flower until they are over 20 years old, with their seeds developing throughout the summer.
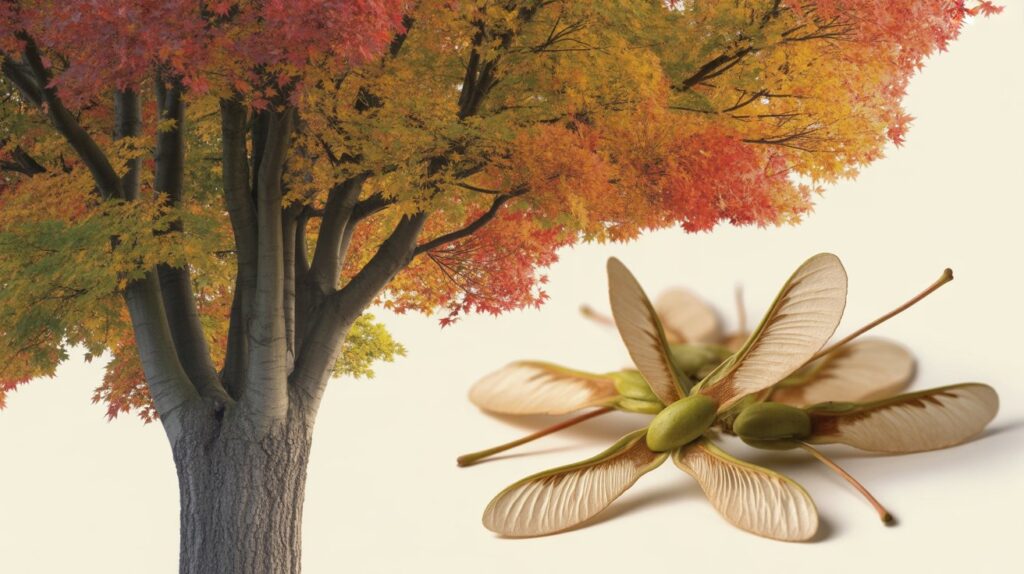
- Seed Appearance: The paired seeds, or samaras, are dark green through the summer and mature to a brown color in autumn.
- Collection Time: Fall, usually from late September to October, just before the leaves drop.
- Planting: Hard maple tree seeds have a dormancy period and must undergo stratification (a cold, moist treatment) before they will germinate.
A note on invasive species: Be mindful of the Norway Maple (Acer platanoides), a non-native species common in urban areas. Its seeds germinate very easily and can outcompete native plants. Familiarize yourself with native maple identification to ensure you’re propagating a beneficial species for your local ecosystem.
How to Collect Maple Tree Seeds
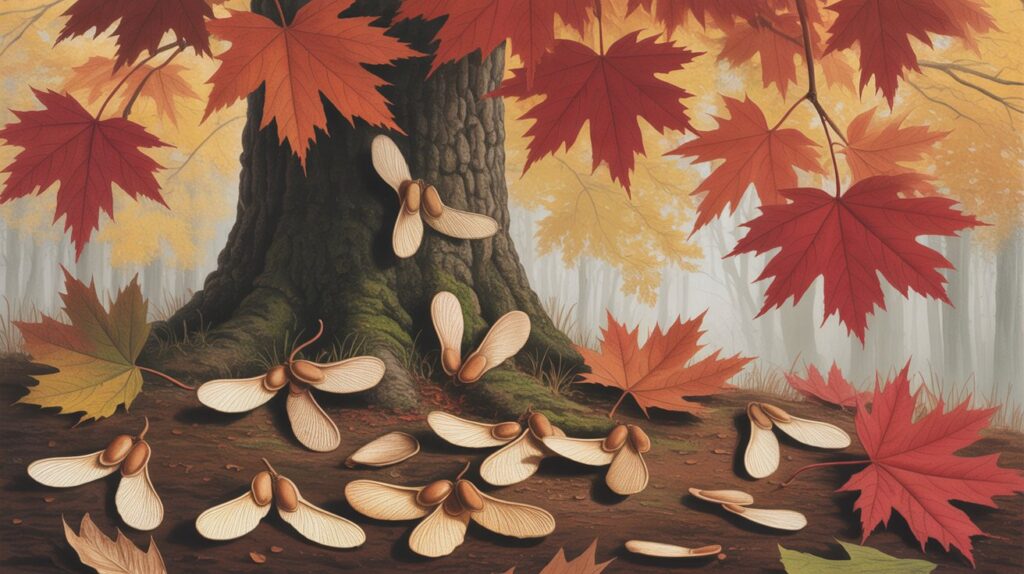
Once you’ve identified your target tree, it’s time to collect the seeds. The best seeds are those that have matured fully and naturally fallen from the tree.
- Where to Look: Collect seeds directly from the ground beneath a healthy, mature maple tree. Avoid collecting seeds from trees that show signs of disease or stress.
- Quality Check: Look for plump, firm seeds. A simple “squeeze test” can help. If the seed pod feels empty or crushes easily, it’s likely not viable. It’s common for one side of the double samara to be empty, so check both.
- Timing is Everything: For soft maples, collect the seeds as soon as they drop in the spring, as their viability decreases quickly. For hard maples, gather the seeds in the fall after they’ve changed color and started to fall.
Breaking Dormancy: The Stratification Process for Hard Maples
Hard maple seeds, like sugar maple seeds, need to experience a period of cold and moisture to break their natural dormancy. This process, called stratification, mimics the conditions they would experience over winter if left in nature.
Step-by-Step Stratification:
- Soak the Seeds: Start by soaking your hard maple seeds in room-temperature water for 24 to 48 hours. This helps to rehydrate the seeds and prepare them for stratification.
- Prepare the Medium: Moisten a sterile medium such as peat moss, sand, or a potting soil mix. It should be damp, not soaking wet—like a wrung-out sponge.
- Pack the Seeds: Mix the soaked seeds with the moist medium and place them in a sealable plastic bag or container. Label the bag with the date and species. Leave a small opening for air circulation to prevent mold.
- Refrigerate: Place the bag in your refrigerator’s vegetable crisper. This provides the ideal cold environment (around 34-41°F or 1-5°C).
- Wait and Check: The seeds must remain in cold storage for 90 to 120 days. Check on them every week or two to ensure the medium is still moist and to look for any signs of mold or early germination. If you see mold, remove the affected seeds. If seeds start to sprout, it’s time to plant them.
Sowing Your Maple Seeds
After stratification (for hard maples) or immediately after collection (for soft maples), you are ready to plant your maple seeds.
Sowing Indoors
Starting seeds indoors gives them a better chance of survival, protecting them from pests and harsh weather.
- Choose Your Container: Use starter trays or small pots with drainage holes.
- Use Sterile Soil: Fill the containers with a sterile, well-draining potting mix.
- Plant the Seeds: Push each maple seed about ¼ to ½ inch deep into the moistened soil. You can leave the “helicopter” wings on; they will decompose naturally.
- Water Gently: Water the seeds until the soil is moist but not waterlogged.
- Provide Light and Warmth: Place the containers in a warm, sunny location. A south-facing window is ideal.
- Monitor for Germination: Germination times vary. Soft maples may sprout in a few weeks, while stratified hard maples can also take several weeks to emerge.
Sowing Outdoors
You can also sow soft maple seeds directly into the ground in the spring.
- Prepare the Site: Choose a protected location with moist soil.
- Plant and Mark: Plant the seeds at the same depth as you would indoors. Mark the area clearly so you don’t accidentally disturb them.
- Mulch and Monitor: Apply a light layer of mulch to retain moisture and deter animals. Keep an eye on the area for signs of growth.
Planting and Caring for Maple Seedlings
Once your seedlings have developed their second set of “true” leaves, they are ready for more dedicated care.
- Transplanting: If you started them in small trays, gently transplant them into larger pots to give their roots more space. Handle them by the leaves to avoid damaging the delicate stem.
- Watering: Keep the soil consistently moist but never soggy. Overwatering can lead to fungal diseases, such as damping-off.
- Light: Maple seedlings need at least 6 hours of sunlight per day. If growing indoors, place them in a sunny window or use a grow light.
- Hardening Off: Before planting outdoors, you must acclimate your seedlings to outdoor conditions. Over a week, gradually increase their exposure to direct sunlight and outdoor temperatures. Start with a few hours in a shaded, protected spot and slowly move them into more sun.
- Final Planting: The best time to plant your young maple tree in its permanent location is in the spring or early fall. Dig a hole twice as wide as the root ball but no deeper. Place the tree in the hole, ensuring the root flare (where the trunk widens at the base) is level with the ground. Backfill with soil, water thoroughly, and add a layer of mulch.
Common Challenges and Solutions
Growing a maple tree from seed can present a few hurdles. Here’s how to overcome them.
- Seed Dormancy: As discussed, this is a natural barrier for hard maples. The key is proper stratification for 90-120 days.
- Fungal Diseases: Damping-off is a widespread problem among seedlings. Provide good air movement, don’t overwater, and use sterile soil. If you continue to have trouble, application of a fungicide may be required.
- Pest Infestations: Young seedlings can be attacked by aphids and spider mites. Regularly inspect your plants. If you spot pests, use insecticidal soap or neem oil.
- Weed Competition: Weeds siphon critical nutrients and water. Keep the area around your seedlings clean with mulch and frequent hand-weeding.
- Transplant Shock: Seedlings can wilt after being moved. Minimize root disturbance during transplanting, water thoroughly, and provide temporary shade for a few days.
Frequently Asked Questions
Here are answers to some common questions about how to grow a maple tree from seed.
How long does it take for maple seeds to germinate?
Soft maple seeds can germinate in as little as a few weeks. Hard maple seeds typically germinate within several weeks of stratification.
Can I plant maple seeds directly in the ground without stratification?
Soft maple seeds (Silver, Red) can be planted directly. Hard maple seeds (Sugar, Black) will not germinate without the cold stratification period unless they overwinter naturally in the ground.
What is the best soil for maple seedlings?
Maples prefer well-draining, loamy soil. If you have heavy clay, amend it with compost to improve drainage.
How often should I water maple seedlings?
Water when the top inch of soil feels dry. Keep the soil consistently moist but not waterlogged.
Can you grow Japanese maple from seeds?
Yes, planting Japanese maple seeds is very popular. Japanese maple (Acer palmatum) is a type of hard maple, so its seeds require the same stratification process as sugar maples.
Can you eat maple seeds?
Yes, the seeds inside the samara are edible! They can be roasted or boiled and have a nutty flavor, similar to peas or edamame. Ensure you identify the tree correctly before consuming any part of it.
How far apart should I plant maple trees?
Large species like sugar or silver maples should be planted at least 30-40 feet apart to allow for their mature canopy spread. Smaller species, such as Japanese maples, can be planted closer together.
The Start of a Legacy
Growing a maple tree from a single seed is an act of hope and a long-term investment in our environment. Every step—from collecting the samaras in the fall to watching the first true leaves unfurl—connects you more deeply to the natural world. In a few years, your small seedling will become a sapling, and with time, it will grow into a magnificent tree that provides beauty and shelter for decades to come. You know, now it’s time to get your hands dirty and start growing.