

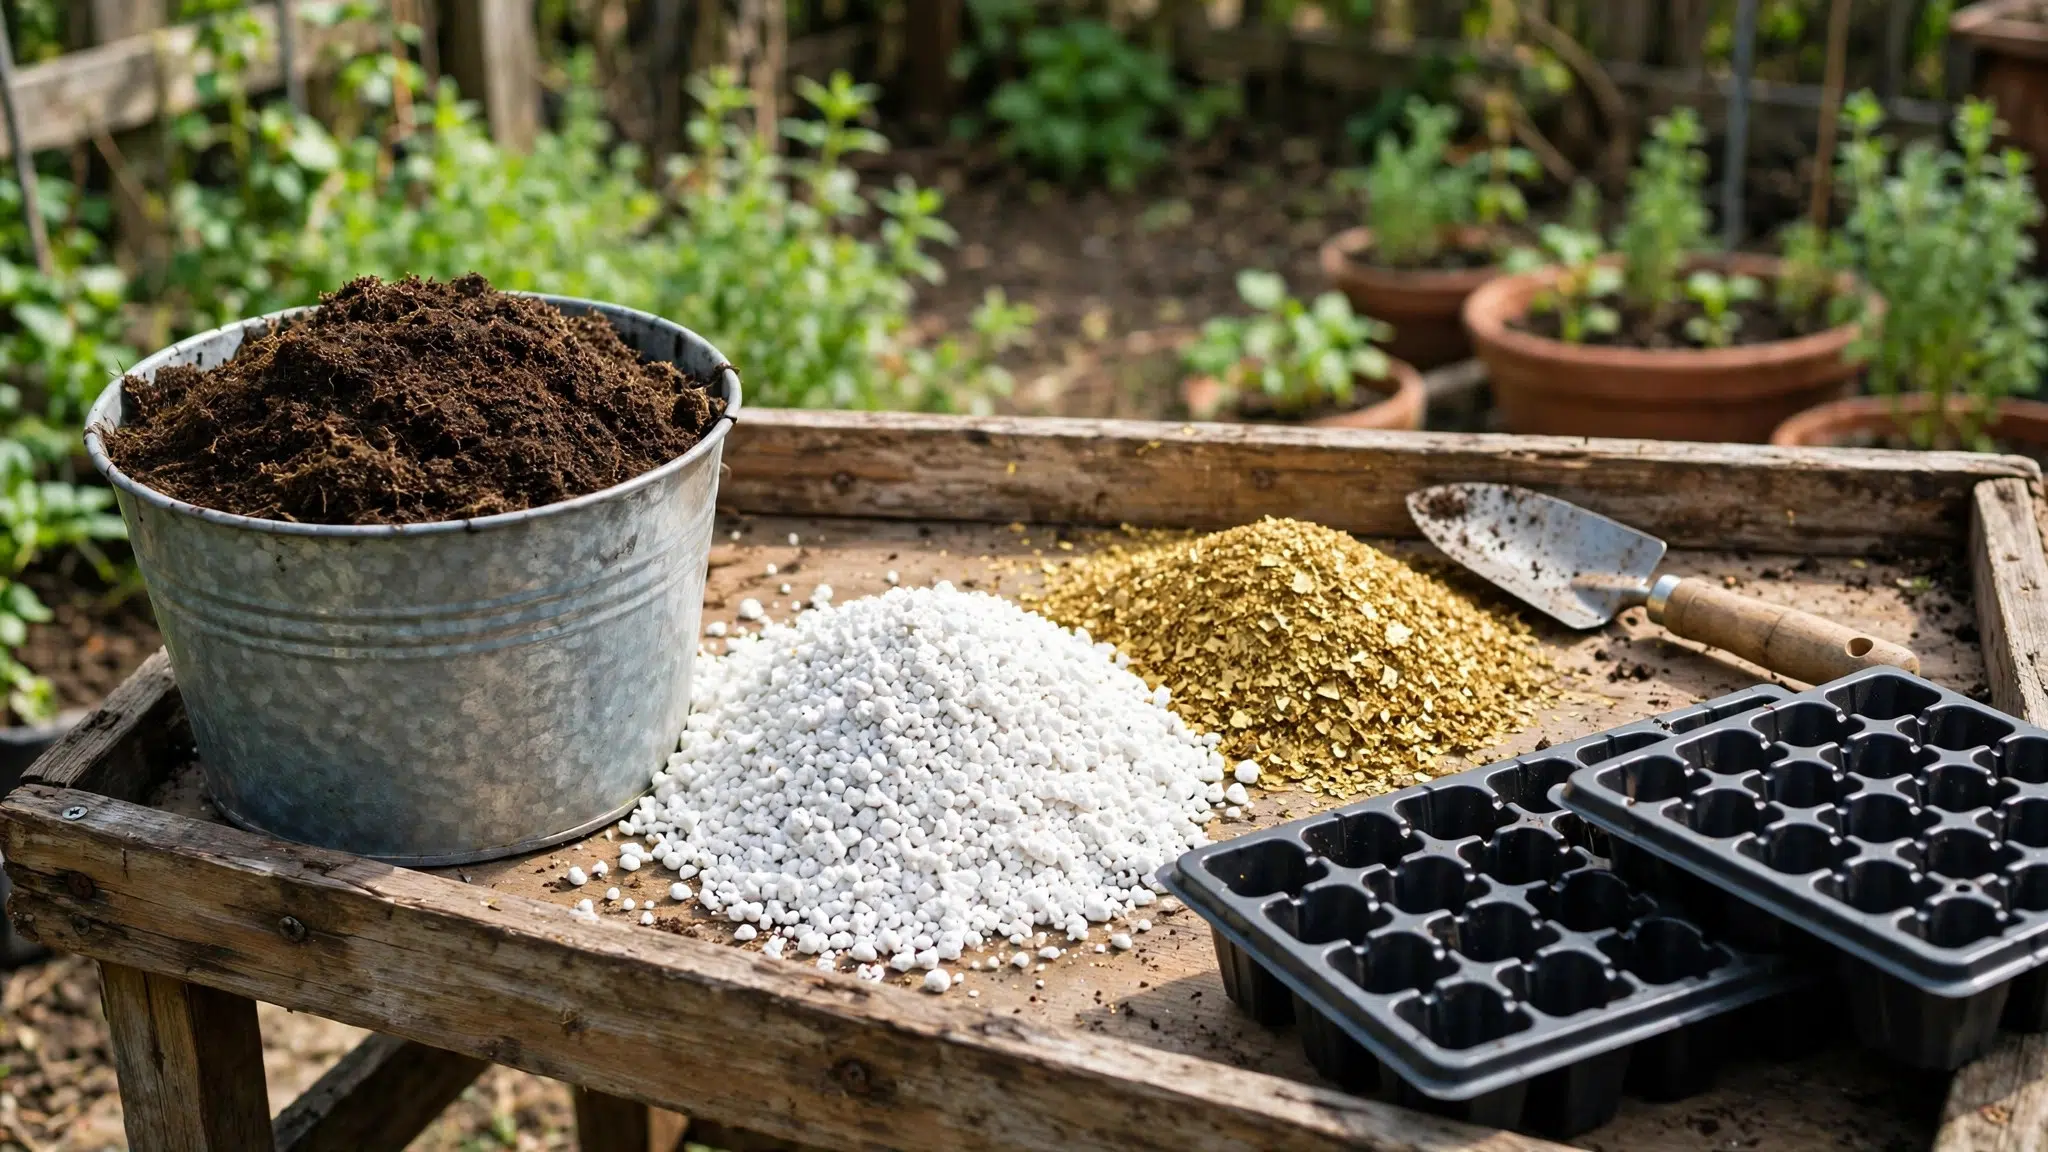
A good DIY seed starting mix is one part peat moss or coconut coir, one part vermiculite and one part perlite, mixed in equal quantities and moistened before use. It costs a fraction of bagged mix, drains freely, holds steady moisture and is free of weed seeds and disease — everything a seed needs to germinate well.
Why Make Your Own Mix?
Bagged seed-starting mix works fine, but you pay mostly for packaging and transport. The ingredients are cheap, keep for years on a shelf, and one batch of homemade mix fills several trays. Making your own also means you know exactly what is in it — no mystery fillers, no fertiliser that burns tiny seedlings, and you can adjust the blend for the crop: more drainage for onions, more moisture-holding for tomatoes.
The other reason is control. A seed does not need nutrients at first — it carries its own food store. What it needs is a fine, uniform medium that stays damp without staying soggy, lets air reach the seed, and contains nothing that can rot it. Garden soil fails on all three counts, which is why this recipe is soilless by design.
What a Good Seed Starting Mix Must Do
| Requirement | Why it matters |
|---|---|
| Fine and uniform | Tiny seeds need even contact with moisture; coarse chunks leave air pockets |
| Holds moisture, drains freely | Seeds must stay damp but never sit in water — soggy mix rots seed |
| Sterile / disease-free | No damping-off fungi, weed seeds or pests |
| Low in nutrients at first | Seedlings feed from the seed for 2–3 weeks; fertiliser comes later |
| Light and airy | Roots need oxygen; compacted mix suffocates them |
The Ingredients — and What Each One Does
| Ingredient | Job | Notes |
|---|---|---|
| Sphagnum peat moss or coconut coir | Base — holds water like a sponge, light and sterile | Coir is the renewable, pH-neutral swap for peat; both work |
| Vermiculite | Holds water and keeps the mix fluffy | Fine grade for seed trays; dusty — dampen before mixing |
| Perlite | Drainage and airflow | Volcanic glass puffed like popcorn; use fine grade so it does not block tiny roots |
| (Optional) Sifted compost | Gentle nutrients after germination | Only 1 part max, and pasteurise it first (see below) |
| (Optional) Ground limestone | Balances peat’s acidity | 2 tablespoons per 4 quarts in the peat-lite recipe |
The University of Georgia Extension recipe is exactly this 1:1:1 blend: one part peat or coir, one part vermiculite, one part perlite. Oregon State University Extension’s version is one-third pasteurised soil or compost, one-third sand/vermiculite/perlite, and one-third coir or peat — and notes that half coir or peat with half perlite, vermiculite or sand also works well.
Recipe 1: The 1:1:1 All-Purpose Mix (Easiest)
The best starting point for almost every vegetable, herb and flower.
- 1 part peat moss or coconut coir
- 1 part fine vermiculite
- 1 part fine perlite
Mix in a bucket, add water gradually and stir until evenly damp like a wrung-out sponge, then fill your trays. No fertiliser needed until seedlings have their first true leaves.
Recipe 2: The Peat-Lite Mix (Virginia Cooperative Extension)
The classic commercial-grower recipe, used for decades in greenhouses.
- 4 quarts shredded sphagnum peat moss
- 4 quarts fine vermiculite
- 1 tablespoon superphosphate
- 2 tablespoons ground limestone
The limestone corrects the peat’s acidity and the superphosphate gives seedlings a gentle start. Cornell University’s peat-lite variant is similar: 3 parts peat, 1 part perlite, 1 part vermiculite.
Recipe 3: Peat-Free Mix (Sustainable)
For gardeners avoiding peat, which is slow to renew.
- 2 parts coconut coir
- 1 part sifted compost (pasteurised)
- 1 part perlite or pumice
Coir holds water well and is pH-neutral, so no limestone is needed. The compost adds gentle nutrients, but it must be sifted fine and pasteurised — raw compost can carry damping-off fungi.
How to Make It — Step by Step
- Measure by volume, not weight. Use the same bucket or scoop for every part so the ratio stays right.
- Mix dry first. Combine the ingredients in a large bucket or tub and stir until evenly distributed.
- Wet it before filling trays. Add water a little at a time, mixing as you go, until the mix is damp like a wrung-out sponge. Dry mix in a cell repels water and leaves dry pockets around seeds.
- Fill trays loosely. Scoop the mix in, tap the tray once to settle it, and level off the top. Do not press it down hard — compacted mix drains badly.
- Sow, water gently, and label. Sow at the depth each seed needs, mist or water from below, and label every tray with variety and date.
Cost Comparison
| Option | Approx. cost per quart | Notes |
|---|---|---|
| Bagged seed-starting mix | Highest | Convenient; you pay for packaging and shipping |
| DIY 1:1:1 mix | A fraction of bagged | Ingredients bought in bulk last several seasons |
| DIY peat-lite mix | Similar to 1:1:1 | Limestone and superphosphate cost pennies per batch |
| Garden soil | Free | False economy — see below |
Exact prices vary by store and region, so check your local garden centre — but the ingredients in bulk are consistently far cheaper per tray than pre-bagged mix, as the University of Georgia Extension notes.
Seed Starting Mix vs Potting Mix vs Garden Soil
| Feature | Seed starting mix | Potting mix | Garden soil |
|---|---|---|---|
| Texture | Very fine, uniform | Coarser, chunky | Heavy, variable |
| Nutrients | Almost none (by design) | Fertiliser added | Unpredictable |
| Sterile? | Yes (soilless) | Usually | No — fungi, weed seeds, pests |
| Drainage | Free, even | Good | Poor in a tray — compacts and crusts |
| Use for | Germination and first 2–3 weeks | Potting on seedlings and containers | Garden beds only, never trays |
Why garden soil fails in trays: it holds water, crusts over, drains poorly and carries damping-off fungi and weed seeds. It belongs in the ground, where drainage and soil life handle those problems — not in a small cell with a fragile seedling. If your mix includes soil or compost, pasteurise it first: put slightly moist soil in a covered heatproof pan in a 250°F oven until it reaches 180°F, then hold for 30 minutes (Oregon State / Virginia Tech method).
Common Mistakes
Mixing it too wet. Soggy mix has no air in it, and seeds rot instead of sprouting. Aim for damp, not dripping.
Using coarse perlite. Large perlite chunks act like roadblocks to tiny roots. Buy fine grade for seed trays.
Adding fertiliser too early. Seedlings feed from the seed for their first 2–3 weeks. Start a half-strength liquid feed only after the first true leaves appear.
Reusing last year’s mix. Old mix can carry damping-off fungi. Fresh mix each season is cheap insurance — compost the old batch.
Skipping the pre-wetting step. Filling trays with dry mix and watering from the top leaves dry pockets. Always wet the mix in the bucket first.
Frequently Asked Questions
Can I use potting mix instead of seed starting mix?
You can, but it is coarser and usually contains fertiliser. For small seeds, sieve it fine first, and expect slightly slower, less even germination than with a true seed-starting mix.
Is coconut coir better than peat moss?
Both work well as the base. Coir is renewable and pH-neutral; peat holds water slightly better but is acidic and slow to renew. Either is fine — pick the one you can buy easily.
How long does homemade seed starting mix keep?
Dry ingredients keep for years in sealed bags or buckets. Mixed, moistened mix should be used within a few days, or it can go stale and mouldy.
Do I need to sterilise homemade mix?
Soilless mixes (peat/coir + vermiculite + perlite) are clean from the bag and need no sterilising. Only soil or compost in the blend needs pasteurising.
How much mix do I need per tray?
A standard 72-cell tray takes roughly 3–4 quarts (about 3–4 litres) of mix. One 5-gallon bucket of the 1:1:1 recipe fills about four such trays.


