
Best LED Grow Lights for Seedlings
As an Amazon Associate I earn from qualifying purchases.
Last updated: November 22, 2026
The short answer: The best LED grow lights for seedlings are full-spectrum white LEDs in the 5000K to 6500K range, hung 2 to 4 inches above the canopy and run 14 to 16 hours a day. They give seedlings the blue light they need for short, stocky stems while using less electricity and producing less heat than older options.
Quick Picks
- Top Pick — Spider Farmer SF1000 LED Grow Light: A dimmable 100-watt full-spectrum panel with Samsung LM301B diodes, covering about a 2 x 2 ft seedling area. Check price on Amazon
- Budget Pick — Barrina T5 2ft Grow Lights, 8-Pack: Eight linkable 2-foot LED tubes in 5000K daylight white that light several shelves for the cost of one panel. Check price on Amazon
Why Seedlings Need More Light Than a Sunny Windowsill
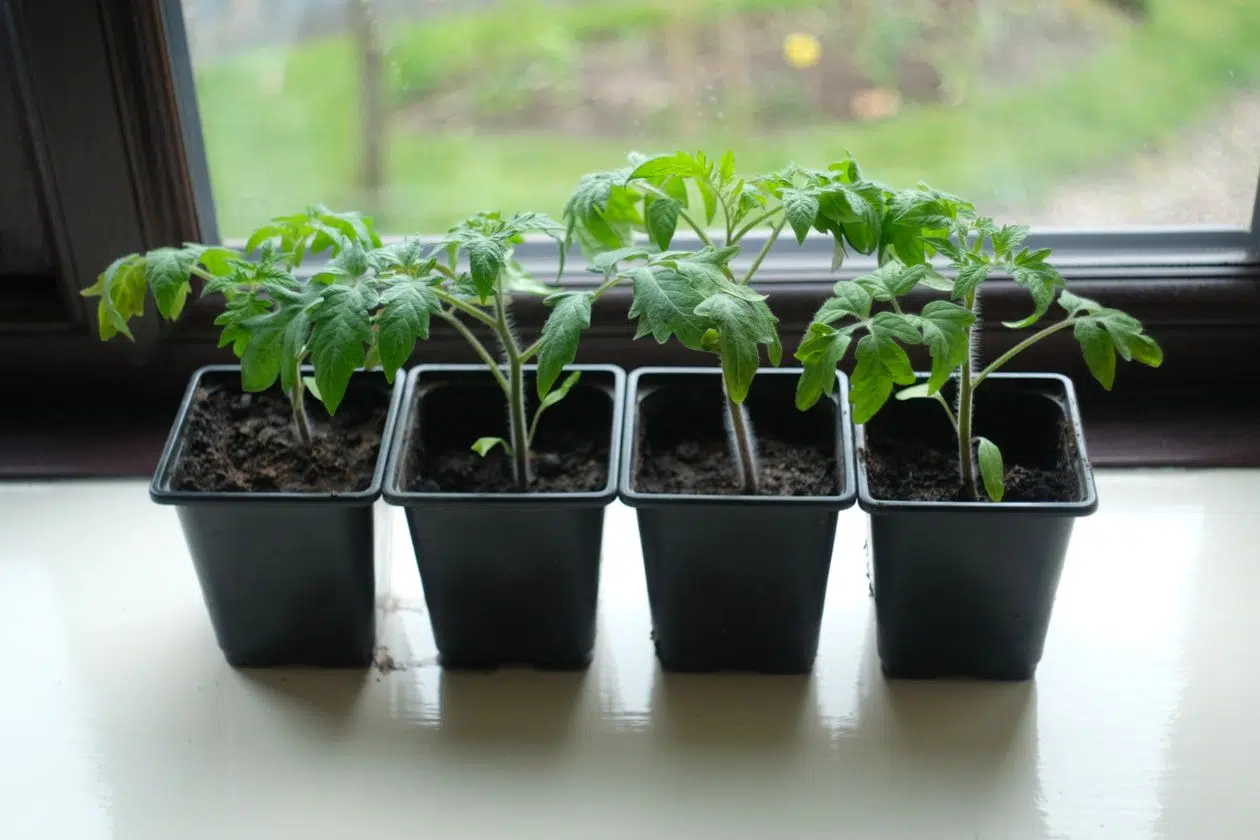
A sunny windowsill feels bright to us, but to a seedling it is usually not enough. Window glass filters out part of the light plants use, winter days are short, and light comes from only one side, so seedlings lean, stretch, and grow tall, pale, and weak. Gardeners call that stretching legginess, and a leggy stem rarely thickens back up.
An LED grow light puts steady, even light directly above the tray for as many hours as the plant needs, every day, whatever the weather is doing outside. For the whole indoor-starting process, see our guide to starting seeds indoors.
How Much Light Seedlings Need: 14 to 16 Hours a Day
Most vegetable and flower seedlings do best with 14 to 16 hours of light per day, followed by 8 to 10 hours of darkness. That dark period matters: plants use it for respiration and growth that does not happen in the light, so leaving lights on around the clock can stress young plants and waste electricity.
A plug-in timer takes the guesswork out of this: set it once and the lights follow the same schedule every day. Start with 14 hours for most vegetables and flowers. If stems still look stretched and pale after a few days, raise it to 16 hours and move the light closer before buying anything stronger — distance and duration are usually the problem, not the bulb.
LED vs Fluorescent: Why LEDs Win for Seed Starting
For years, the standard advice was a pair of fluorescent shop-light tubes over a tray. Fluorescents still grow good seedlings — but LEDs have taken over for good reasons.
| Feature | LED Grow Lights | Fluorescent Tubes |
|---|---|---|
| Energy use | Low | Higher for same brightness |
| Heat | Very low | Noticeable; dries trays faster |
| Lifespan | Typically 25,000–50,000 hours | Shorter; tubes dim with age |
| Spectrum | Full-spectrum white (5000K–6500K) | Cool white; less balanced |
| Upfront cost | Slightly higher | Cheaper to buy, costlier to run |
Heat is the key difference. A fluorescent tube close enough to grow stocky seedlings also warms the tray and dries the soil mix faster, which means more watering and a higher risk of damping off. An LED bar at the same distance stays cool enough to touch, so soil stays evenly moist, and it typically uses about half the electricity of a fluorescent setup of the same brightness. If you already own working fluorescents, keep using them — but if you are buying new, LED is the better investment.
Full Spectrum Explained: What 5000K to 6500K Means
LED grow lights carry a color temperature rating, like 5000K or 6500K, measured in Kelvin: lower numbers look warm and yellow, higher numbers look cool and white, like daylight. Seedlings want the daylight end of the scale.
Blue light (roughly 400 to 500 nanometers) tells a plant to grow short, compact stems and strong roots. Red light (roughly 600 to 700 nanometers) drives leaf expansion and, later, flowering and fruiting. A full-spectrum white LED in the 5000K to 6500K range delivers plenty of blue for stocky seedlings plus enough red and green for balanced growth — and because it looks like ordinary white light, you can see your plants properly. Under old purple “blurple” lights, yellowing leaves and pests are hard to spot.
Do not chase wattage numbers alone: a “1,000-watt” label usually describes an old-style equivalent, not actual power draw. Even coverage at the right distance matters far more. For fluorescent options, shop lights, and building a whole shelf setup, see our broader guide to the best grow lights for starting seeds indoors.
Hanging Height: How Close Is Close Enough?
Height is the most common seed-starting mistake. Hang the light too far away and seedlings stretch toward it. Hang it too close and leaves bleach or curl.
| Seedling stage | Hanging height | Hours per day |
|---|---|---|
| Just sprouted | 2–3 inches above canopy | 14–16 |
| Growing seedlings | 3–4 inches above canopy | 14–16 |
| Near transplant size | 4–6 inches above canopy | 14–16 |
| Dimmable panel, full power | 6–12 inches, dimmed if needed | 14–16 |
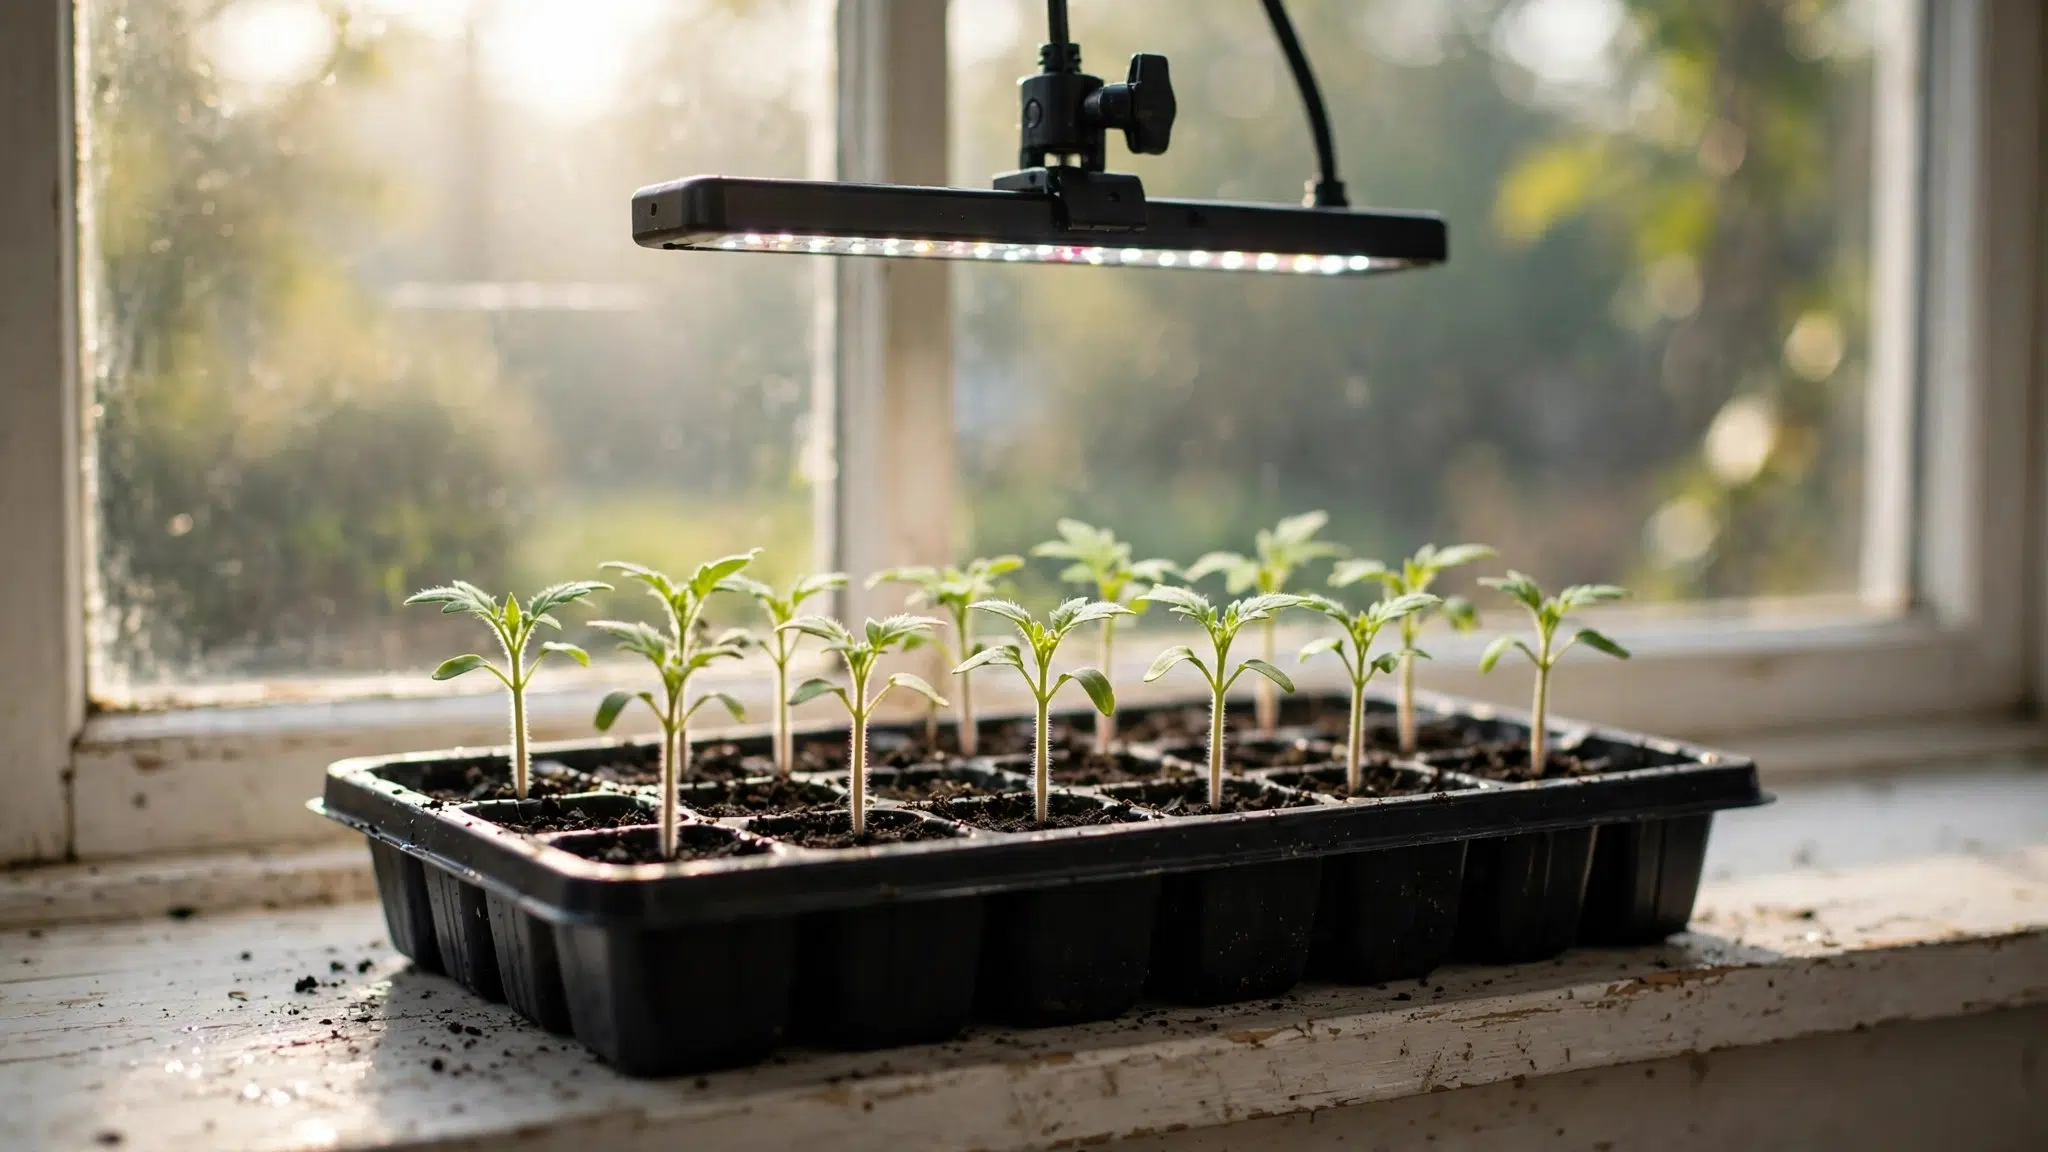
Measure from the tops of the leaves, not from the soil or tray rim, and raise the light as seedlings grow to keep the gap the same. Check every couple of days — tomato and pepper seedlings can grow an inch overnight. With a dimmable panel like the Spider Farmer SF1000 below, you can hang it higher and turn the dimmer down for tiny seedlings, then raise the brightness as they grow.
Coverage Area: Match the Light to Your Trays
A standard 1020 seed tray measures about 10 x 20 inches. One 2-foot LED tube lights one tray well; two tubes side by side light it evenly with no dark edges; a 2 x 2 ft panel covers one to two trays. Measure your shelf and count your trays before you buy, and match the fixture to that number — better to light two trays brilliantly than to spread one fixture thinly across four and grow four trays of leggy seedlings. Linkable tube sets help here: start with one shelf and add tubes as your seed starting grows.
The right containers for starting seeds indoors help too. Shallow trays with good drainage keep seedlings at an even height, which keeps the distance to the light even — and even distance is what gives you even growth.
How to Tell If Your Lights Are Too Close or Too Far
Seedlings tell you what they think of your lights within a few days.
Too far away: stems grow tall, thin, and pale; seedlings lean hard toward the light; the gap between leaf sets is long. Lower the light to 2 to 3 inches above the leaves and add an hour or two of light per day.
Too close: leaf edges curl upward or look bleached and papery; leaf tips turn white or brown; growth stalls even though the soil is moist. Raise the light a few inches, or dim the panel if it has a dimmer. Seedlings usually recover in a few days.
Just right: stems are short and thick, leaves are deep green and held flat, and new growth appears every day or two.
Setting Up Your First LED Seed-Starting Shelf
You do not need a fancy grow tent to start seeds under LEDs. A simple wire shelving unit, the kind sold for garages and kitchens, makes an ideal seed-starting station. Choose a shelf with adjustable heights so you can move each level as seedlings grow. Hang one LED tube or panel under each shelf with the included clips or short lengths of chain and S-hooks, and plug everything into a power strip with a timer. Place your trays on the shelf below each light, leaving a few inches of headroom for the seedlings to grow into. A small clip-on fan set on low, blowing gently across the trays for a few hours a day, strengthens stems and keeps air moving, which helps prevent damping off. Keep the setup somewhere you will see it every day — a spare room, a basement corner, or a bright laundry room all work. If you can see the trays, you will notice watering needs, leaning stems, and lights that need raising before small problems become lost trays.
Energy Use, Heat, and Timing by USDA Zone
A typical setup — two 2-foot LED tubes over a tray — draws roughly 20 to 40 watts. Run 15 hours a day over an eight-week season, that is only a few dollars of electricity in most of the United States. LEDs turn more electricity into light and less into heat, so soil moisture stays stable. University of Minnesota Extension notes that seedlings need strong light kept a few inches above them, and that fluorescent or LED fixtures both work at that distance — LEDs simply do it with less heat and less power. (University of Minnesota Extension, “Starting seeds indoors,” extension.umn.edu/planting-and-growing-guides/starting-seeds-indoors.)
Timing matters as much as the light. Count back from your average last frost date using the USDA Plant Hardiness Zone Map (planthardiness.ars.usda.gov). Tomatoes and peppers need 6 to 8 weeks under lights; squash and cucumbers need only 3 to 4 weeks. A timer saves energy as well as effort: seedlings do not benefit from light beyond 16 hours, so a timer that shuts the lights off at night stops wasted electricity automatically. Dimming a panel for tiny seedlings saves a little more, and it lets one fixture serve plants at different stages on the same shelf.
| Zone | Last frost | Tomatoes/peppers | Squash/cucumbers |
|---|---|---|---|
| Zones 3–4 | Mid-May–early June | Early to mid-March | Mid-April |
| Zones 5–6 | Mid-April–mid-May | Early to mid-March | Early to mid-April |
| Zones 7–8 | Late March–mid-April | Mid-Feb–early March | Mid-March–early April |
| Zones 9–10 | Late Jan–mid-Feb (or none) | Late Jan–mid-Feb | Feb–early March |
Warmth matters for germination too: pepper seeds sprout faster on a warm surface, so if your trays sit in a cool room, read our guide on how to use a heat mat to germinate seeds faster. Once seeds sprout, the mat comes off and the lights take over.
Common LED Grow Light Mistakes to Avoid
Buying by watts alone. A big wattage number on the box does not mean strong light over your trays. Check the color temperature (5000K to 6500K for seedlings), the coverage area, and whether the fixture can hang close to the plants. A modest bar at the right height beats a powerful panel hung too high.
Hanging the light too high. This is the number one cause of leggy seedlings. If your light hangs a foot or more above the tray, your seedlings will stretch no matter how good the fixture is. Keep it 2 to 4 inches above the leaves and raise it as they grow.
Skipping the timer. Hand-switching lights sounds simple until life gets busy. A missed morning or a forgotten evening adds up to weak, uneven growth. A cheap plug-in timer keeps the schedule perfect without any thought.
Lighting only part of the tray. One tube over a two-tray shelf leaves the outer seedlings in shadow, and they will lean toward the light. Match the fixture to the tray: two tubes per tray, or a panel that covers the full footprint.
Forgetting airflow. Still, warm air around seedlings invites damping off. A small fan on low, a few hours a day, keeps stems sturdy and leaves dry.
Researched Picks: The Best LED Grow Lights for Seedlings
The three fixtures below were chosen by comparing spectrum, coverage, form factor, and fit for tray-scale growing. They cover the three setups most home gardeners use: a multi-shelf tube array, a single strong panel, and a compact multi-panel kit.
1. Barrina T5 2ft Grow Lights, 8-Pack
Badge: Best for Multi-Shelf Setups
Decision specs: Eight 2-foot LED tubes in 5000K daylight white; linkable design so tubes connect in a chain from one outlet; slim profile that mounts under shelves with clips.
Best for: Gardeners starting many trays across several shelves who want even light on every shelf without buying a separate panel per tray.
Two tubes per shelf lights four shelves, and the 5000K daylight color gives seedlings the blue-rich light that keeps stems short and sturdy. One outlet can run a whole rack.
| ✓ Pros | × Cons |
|---|---|
|
|
Barrina T5 2ft Grow Lights, 8-Pack on Amazon
Check Price on Amazon2. Spider Farmer SF1000 LED Grow Light
Badge: Top Pick — Best Overall Panel
Decision specs: 100-watt full-spectrum LED panel with Samsung LM301B diodes; dimmable driver; covers about a 2 x 2 ft area; quiet, fanless design with an aluminum heat sink.
Best for: Gardeners who want one strong, dimmable panel for a shelf, small tent, or tabletop setup that can also carry plants past the seedling stage.
The SF1000 is the top pick because it is the most flexible fixture here. The dimmer lets you start tiny seedlings under gentle light and turn the brightness up as they grow, instead of constantly adjusting hanging height. Its full-spectrum white output renders leaf color naturally, so you can spot problems early, and the fanless design runs silent in a living space.
| ✓ Pros | × Cons |
|---|---|
|
|
Spider Farmer SF1000 LED Grow Light on Amazon
Check Price on Amazon3. FECiDA LED Grow Light Panel, 6-Pack
Badge: Best Value Multi-Panel Kit
Decision specs: Six slim full-spectrum LED panels; linkable design for shelf and tray setups; lightweight panels that mount under shelves or on a frame; white daylight output suited to seedlings.
Best for: Gardeners who want panel-style light on several shelves at a lower cost per panel than a single premium fixture.
The FECiDA 6-pack sits between the other two picks: panels rather than tubes, priced as a multi-unit kit. Six panels cover three shelves with two panels each, or spread across a wide tabletop of trays.
| ✓ Pros | × Cons |
|---|---|
|
|
FECiDA LED Grow Light Panel, 6-Pack on Amazon
Check Price on AmazonHow We Chose
These picks were chosen by researching LED grow lights for seed starting and comparing them on what matters for seedlings: a daylight color temperature of 5000K to 6500K, even coverage across standard 1020 trays, a form factor that fits a shelf setup, low heat, and energy efficiency. We compared manufacturer specifications and listings across similar fixtures and favored options fitting the three most common home setups — a multi-shelf tube array, a single dimmable panel, and a multi-panel kit. We did not test these fixtures in our own garden, and this article makes no claim that we did.
Final Verdict
If you start a few trays each spring, the Spider Farmer SF1000 is the pick: dimmable, efficient, quiet, and strong enough to keep using after transplant season. If you start a lot of trays across several shelves, the Barrina T5 8-pack lights the whole rack evenly for less per shelf. If you are starting from scratch, begin with the Barrina tubes and a wire shelf — it is the cheapest way to light a lot of seedlings well — and add a dimmable panel later when you want finer control. Whichever you choose, hang it 2 to 4 inches above the canopy, run it 14 to 16 hours a day on a timer, and raise it as seedlings grow — that routine, more than any fixture, grows short, stocky, garden-ready plants.
Spider Farmer SF1000 LED Grow Light on Amazon
Frequently Asked Questions
How many hours of LED light do seedlings need per day?
Most seedlings do best with 14 to 16 hours of LED light per day, followed by 8 to 10 hours of darkness. Use a plug-in timer and do not leave lights on 24 hours a day.
How close should LED grow lights be to seedlings?
Hang LED grow lights 2 to 4 inches above the top leaves, and raise the light as plants grow. If leaves bleach or curl, raise it; if stems stretch and lean, lower it.
Are LED grow lights better than fluorescent lights for seedlings?
Yes, for most home gardeners. LEDs use less electricity, produce less heat, last longer, and come in full-spectrum daylight color temperatures. Fluorescents still grow good seedlings, but LEDs do the job more efficiently.
What color temperature is best for seedling grow lights?
A color temperature of 5000K to 6500K is best. This daylight-white range is rich in the blue wavelengths that keep stems short and compact, with enough red and green for balanced growth.
Can LED grow lights burn seedlings?
Yes, if hung too close at full power or run without a dark period, LEDs can bleach or curl leaves. Keep the fixture 2 to 4 inches above the canopy, dim it if it has a dimmer, and give seedlings 8 to 10 hours of darkness each night. Seedlings usually recover within a few days once the light is raised.