
Best Seed Starting Station Supplies for Indoor Gardeners
As an Amazon Associate I earn from qualifying purchases.
Last updated: November 22, 2026
The Short Answer
The best seed starting station supplies are a sturdy multi-tier shelf, full-spectrum LED grow lights hung 2–4 inches above the seedlings, standard 1020 trays with humidity domes, sterile seed starting mix, a heat mat for warm-season crops, a small fan for airflow, plant labels, and a seed storage organizer.
Quick Picks
- Top Pick — Hanaoyo Self-Watering Seed Starter Tray 96-cell 2-pack: Keeps moisture even across a big batch, with a self-watering base that cuts daily watering. Check the Hanaoyo Self-Watering Seed Starter Tray on Amazon
- Budget Pick — Barrina T5 2ft Grow Lights 8-pack: Linkable LED bars that cover several shelves for far less than buying lights one at a time. Check the Barrina T5 2ft Grow Lights on Amazon
What Is a Seed Starting Station?
A seed starting station is a dedicated indoor setup where seeds germinate and grow into sturdy transplants before moving to the garden. It does not need to be fancy — a simple wire shelf in a spare room or basement corner with a power outlet works well, as long as you can control light, warmth, moisture, and airflow. The University of Minnesota Extension recommends starting seeds indoors for tomatoes, peppers, and eggplant, which need a long warm season in northern gardens.
Shelving: The Backbone of the Station
A metal wire rack is the most popular choice because it is sturdy, lets air move around the trays, and lets you hang lights from the shelf above. Look for a rack rated to hold the weight of wet trays. A four- or five-tier rack about 48 inches wide can hold four standard 1020 trays per shelf. A standard 1020 tray is 10 by 20 inches, so a shelf at least 20 inches deep and 48 inches wide fits two trays side by side.
Grow Lights: The Single Most Important Supply
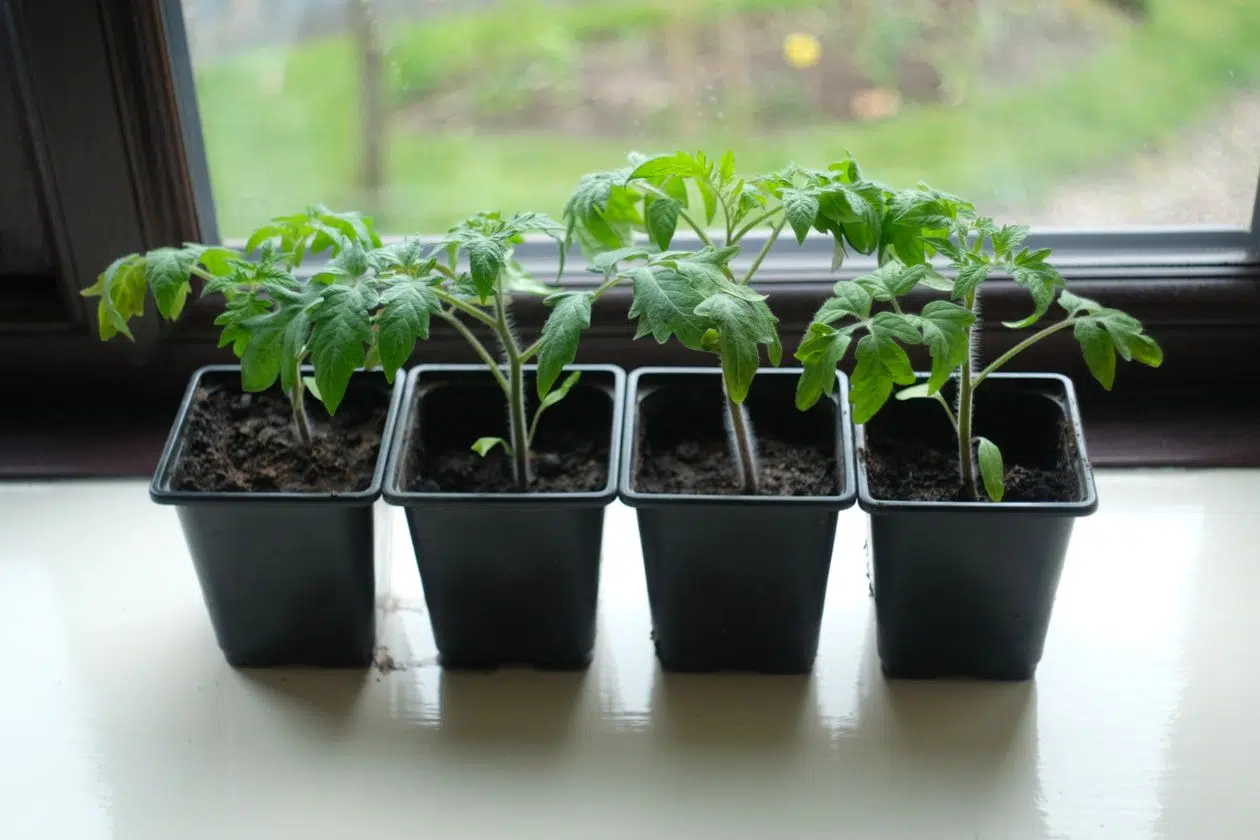
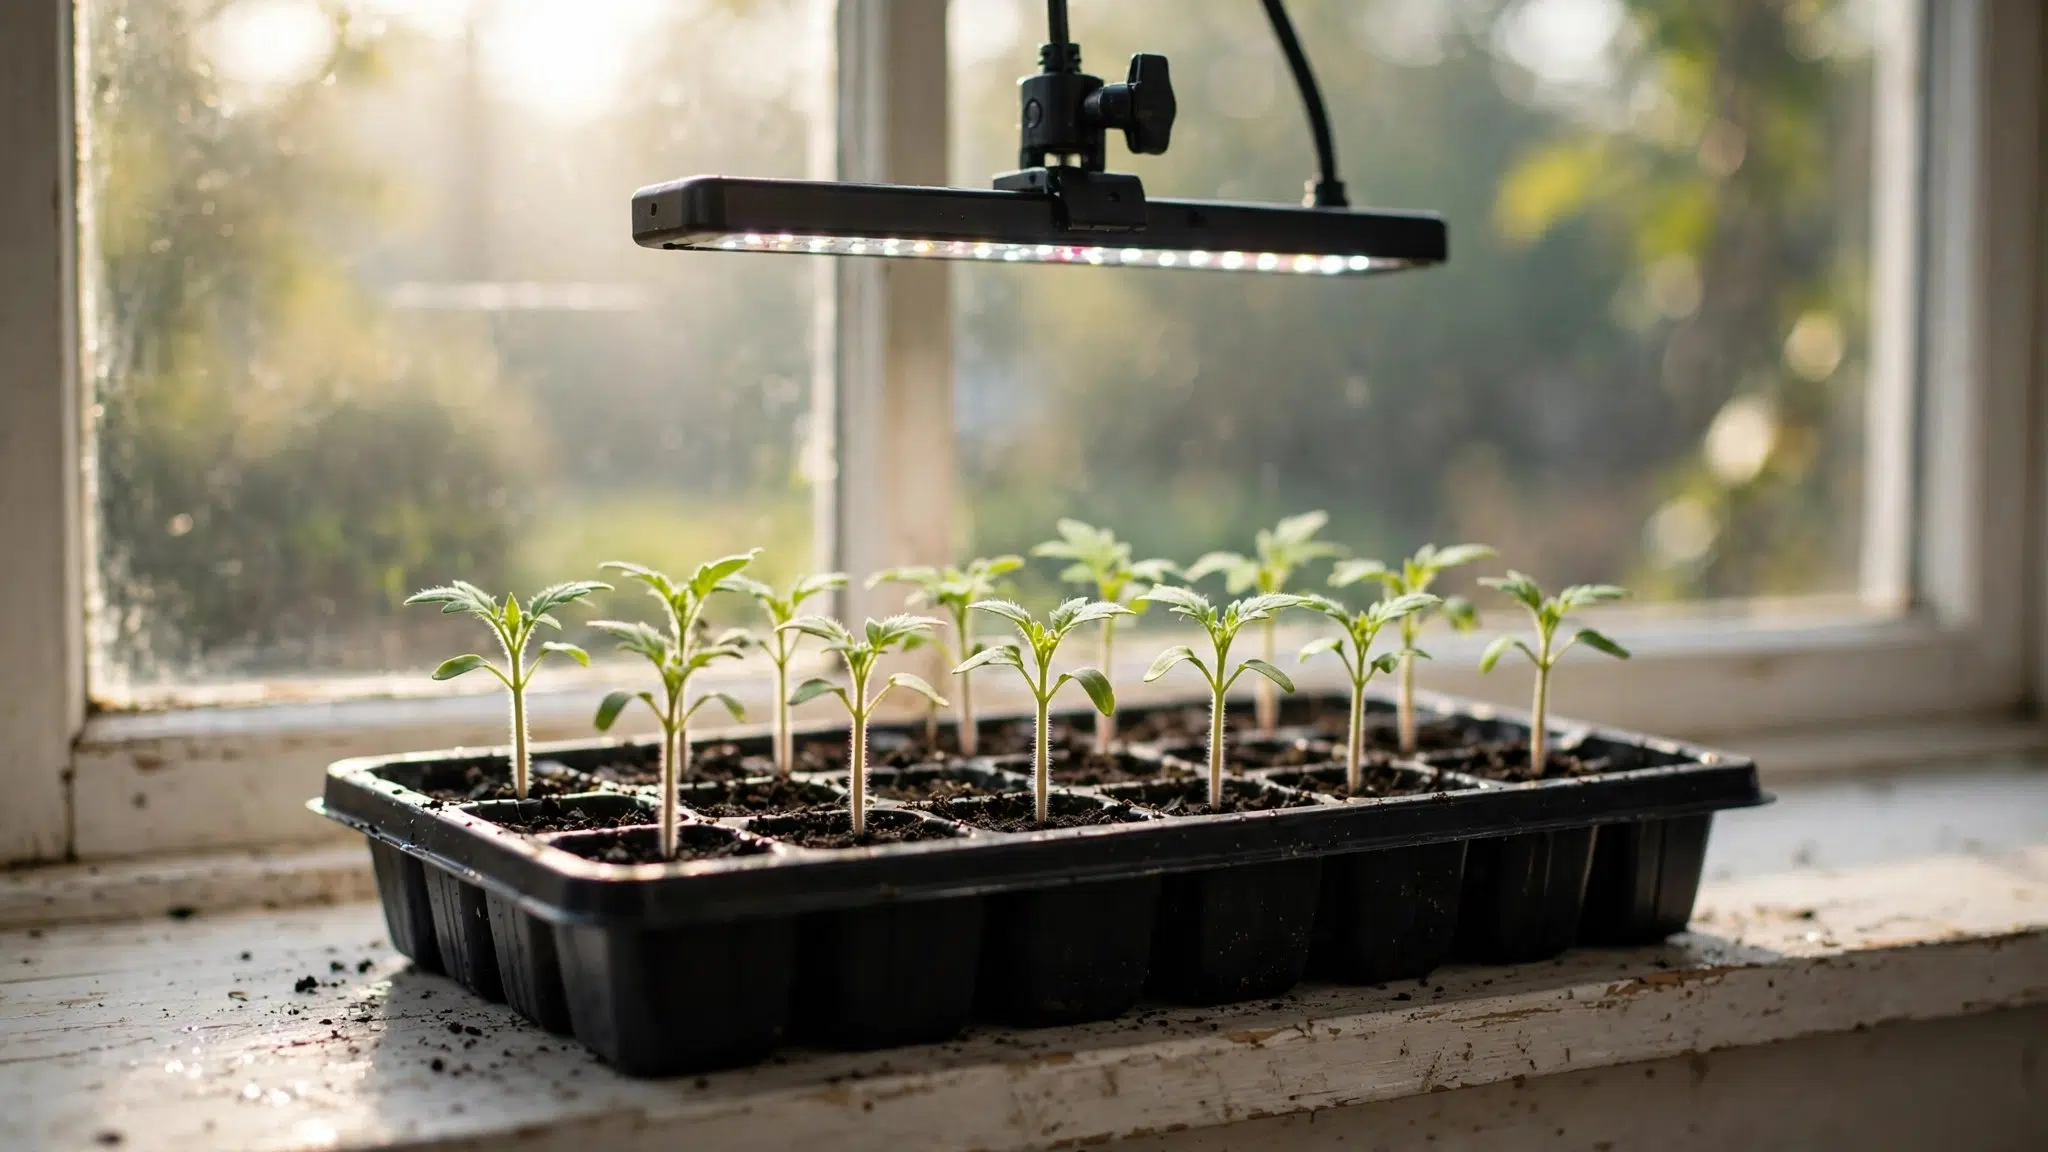
Light makes or breaks an indoor station. A sunny windowsill is rarely enough: winter daylight is short and weak, and seedlings on a windowsill lean toward the glass and grow tall, pale, and leggy. Full-spectrum LED grow bars are the best choice for most home gardeners — they run cool, use little electricity, and give seedlings the blue and red wavelengths they need for strong stems and leaves. Hang them 2–4 inches above the seedlings and raise them as the plants grow, using adjustable chains or S-hooks.
Trays, Cells, and Humidity Domes
The standard setup is a 1020 flat (a shallow tray with no holes) holding cell inserts, with a clear humidity dome on top. The flat catches water, the cells keep each seedling separate, and the dome holds in warmth and moisture while seeds germinate. Large seeds and fast growers such as squash and sunflowers do better in bigger cells, while small seeds such as lettuce, herbs, and petunias are happy in 72-cell trays. Always use a sterile seed starting mix, not garden soil — garden soil is heavy, drains poorly in small cells, and can carry disease organisms that cause damping off. Remove humidity domes as soon as seedlings emerge, and clean trays and domes between uses with warm soapy water.
Heat: Warming the Soil, Not the Room
Most vegetable seeds germinate best when the soil is warmer than the room. Tomatoes, peppers, and eggplant germinate fastest at around 75–85°F, while lettuce and spinach prefer cooler soil around 60–70°F. A heat mat under the tray warms the soil directly, speeding germination by days and giving more even sprouting. Once seeds have sprouted, remove the tray from the mat — seedlings grow sturdier at cooler air temperatures, around 60–70°F.
Airflow and Watering: Preventing Damping Off
Damping off is the most common disaster at a seed starting station: seedlings that were fine yesterday suddenly keel over at the soil line, the stem pinched and brown. It is caused by fungi that thrive in still, wet conditions, and the best defence is airflow and careful watering. A small oscillating fan on low, placed a few feet from the station, dries the soil surface between waterings and gently moves the seedlings, encouraging thicker, stronger stems. Water from the bottom when you can: set the tray in a shallow pan of water for 10–15 minutes, let the mix soak up moisture from below, then drain the excess. Never let trays sit in standing water. The University of Georgia Cooperative Extension advises gardeners to avoid overwatering, provide good air circulation, and use sterile mix as the main steps for preventing damping off.
Small-Space Setups That Actually Work
A seed starting station can fit on a kitchen counter, a laundry room shelf, or the top of a dresser — the trick is to match the setup to the space. For a windowsill or countertop, choose a compact kit: one or two small trays with a built-in LED light bar, or a single 1020 tray with a clip-on light. For an apartment, a two-tier wire rack in a closet with the door left open works well, because the closet contains the light spill. Just make sure every shelf has its own light.
| Setup size | Best for | Core supplies |
|---|---|---|
| Countertop (1–2 trays) | Herbs, a few tomatoes or peppers, first-time growers | 1 tray with dome, 1 LED bar, spray bottle, labels |
| Two-tier rack (4–6 trays) | Most home vegetable gardens | Wire rack, 2–4 LED bars, heat mat, fan, self-watering trays |
| Full station (10+ trays) | Large gardens, flower growers, seed savers | 4–5 tier rack, LED bars per shelf, heat mats, fan, storage organizer |
Budget vs Full Setups: What to Buy First
You do not need to buy everything at once. A budget station built around a wire rack, a couple of LED bars, standard trays, and seed starting mix will grow excellent seedlings. Spend first on lights and trays, because those have the biggest effect on seedling quality — a cheap shelf and a good light beat an expensive shelf and a weak light every time. A full setup is worth it if you start seed every year or grow a large garden: self-watering trays mean fewer emergency waterings, a thermostat keeps germination even, and a storage organizer means you never hunt for last year’s leftover seed.
Organising Supplies, Labelling, and Seed Storage
A station that is organised is a station that gets used. Keep all of your supplies in one place: mix, trays, domes, labels, a marker, a spray bottle, and seed packets. Label everything the day you sow — seedlings of different varieties look identical within weeks, so write the variety, the date sown, and the expected transplant date on each label with a waterproof marker. For more on keeping seed from one season to the next, see our guide on how to store seeds.
Keeping the Station Clean
Cleanliness is disease prevention, not tidiness for its own sake. At the end of each season, wash trays, flats, domes, and cell inserts in warm soapy water, rinse well, and let them dry in the sun if possible. Throw away old mix; never reuse it for seedlings, because it can carry disease and has lost its structure.
Researched Picks
The products below are researched picks chosen for how well they fit the jobs described above — trays that hold moisture evenly, lights that cover a shelf, and storage that keeps seed organised. We compared product features, cell counts, sizes, and the situations each product suits, and we did not copy product descriptions or customer reviews.
1. Hanaoyo Self-Watering Seed Starter Tray 96-cell 2-pack — Top Pick
Badge: Top Pick — Best for even moisture
Decision specs: 96 cells per tray, 2-pack for 192 growing spaces in total, self-watering base with a reservoir, clear humidity domes, suitable for vegetables, herbs, and flowers.
Self-watering trays solve the most common beginner problem: watering that swings between too dry and too wet. The reservoir lets the mix draw up moisture as needed, so seedlings stay evenly damp through the day.
| ✓ Pros | × Cons |
|---|---|
|
|
Best for: Gardeners starting a large batch of seedlings who want steadier moisture with less daily watering.
Check the Hanaoyo Self-Watering Seed Starter Tray on Amazon
Check Price on Amazon2. Barrina T5 2ft Grow Lights 8-pack — Best Value
Badge: Best Value — Best for multi-shelf coverage
Decision specs: 8 linkable 2-foot LED bars, full-spectrum daylight, plug-and-play linking cords, suitable for shelves 2 feet wide and for standard seed trays.
Eight bars in one pack is what makes this set good value: it lights several shelves at once, so you do not have to buy lights one shelf at a time. The linkable design keeps wiring simple, with one plug feeding a chain of bars, and the 2-foot length matches a standard tray and a narrow rack.
| ✓ Pros | × Cons |
|---|---|
|
|
Best for: Gardeners setting up a multi-shelf rack who want to light the whole station in one purchase.
Check the Barrina T5 2ft Grow Lights on Amazon
Check Price on Amazon3. Seed Storage Organizer Box 120-slot — Best for Organisation
Badge: Best for Organisation — Best for seed storage
Decision specs: 120 slots for seed packets, labelled dividers, compact box format, suitable for home seed collections and seed savers.
A seed collection grows faster than most gardeners expect, and a box with 120 slots keeps it usable instead of a pile of packets in a drawer. Labelled sections let you sort by crop or sowing month, so you can find the packet you need in seconds.
| ✓ Pros | × Cons |
|---|---|
|
|
Best for: Gardeners and seed savers with a growing packet collection who want to find and rotate seed easily.
Check the Seed Storage Organizer Box on Amazon
Check Price on AmazonHow We Chose
We chose these picks by comparing the features that matter most at a seed starting station: cell count and tray size, self-watering design, light coverage per shelf, linkable wiring, and storage capacity. We read product listings and specification details on Amazon and favoured products that fit standard 1020 trays and common wire racks. These are researched picks based on published product information, not products we personally tested in our own garden.
Final Verdict
If you are building or upgrading a seed starting station, start with the pieces that do the most work: a self-watering tray set for even moisture, a set of linkable LED bars for strong light, and a storage box that keeps your seed organised. The Hanaoyo Self-Watering Seed Starter Tray is our top pick because even moisture is the hardest thing to get right for beginners.
Check the Hanaoyo Self-Watering Seed Starter Tray on Amazon
Frequently Asked Questions
What supplies do I need to start seeds indoors?
You need a shelf, full-spectrum grow lights on a timer, trays with humidity domes, sterile seed starting mix, plant labels, and a spray bottle or watering can. If you are new to indoor sowing, our guide to starting seeds indoors walks through the whole process step by step.
How close should grow lights be to seedlings?
Hang LED grow lights 2–4 inches above the tops of the seedlings and raise them as the plants grow. Check the height every few days.
How many hours of light do seedlings need?
Most seedlings do best with 14–16 hours of light per day, followed by 8–10 hours of darkness. For help choosing lights, see our guide to the best grow lights for starting seeds indoors.
What is the best container for starting seeds indoors?
Standard 1020 trays with cell inserts and humidity domes are the most flexible choice, and self-watering trays help keep moisture even. Our roundup of the best containers for starting seeds indoors compares the main options.
How do I stop seedlings from damping off?
Use sterile seed starting mix, water from the bottom, avoid letting trays sit in standing water, remove humidity domes once seeds sprout, and run a small fan for airflow.